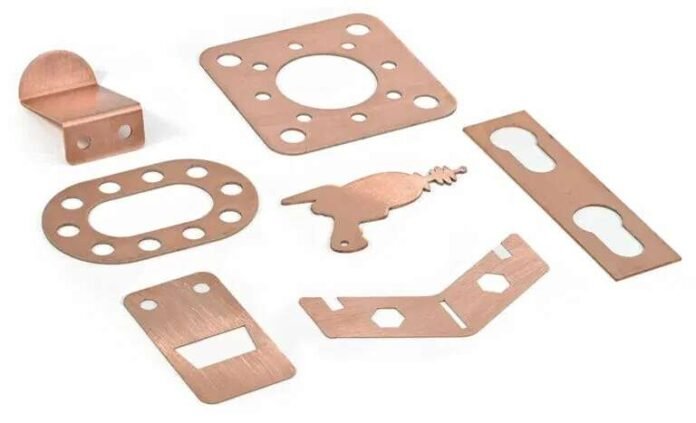
How to Cut Copper Sheet : Technical Guide: Step-by-Step Process
Cutting copper sheets with a laser requires the right machine, precise setup, and careful adjustment of settings to ensure clean, efficient cuts. Here’s a step-by-step guide:
Choosing the Right Laser Machine
Opt for a fiber laser rather than a CO2 laser. Fiber lasers are specifically designed for cutting metals like copper, ensuring better energy absorption and reducing the risk of reflection damage.
Setting Up the Copper Sheet
Place the copper sheet securely on the laser bed, ensuring it lies flat without warping. Any unevenness can lead to imperfections in the cut.
Ensure proper ventilation and material handling to reduce heat buildup during cutting.
Adjusting Power and Focus Settings
Power Settings: Use high enough power to penetrate the copper but avoid excessive heat that could lead to warping or rough edges. This will vary depending on the thickness of the copper sheet.
Focus Settings: Fine-tune the focus of the laser to ensure it’s tightly concentrated on the cutting path for sharper, more accurate results.
Best Practices
· Test Cuts: Always start with a test cut on a scrap piece of copper to fine-tune your power and focus settings.
· Speed Control: Balance cutting speed with power. Too fast, and the cut may not go through; too slow, and excess heat can cause material distortion.
· Cooling: Use cooling techniques, like air blowers, to prevent overheating during longer cuts.
Following these best practices will minimize imperfections, ensure smooth edges, and optimize the efficiency of your copper cutting process.
