Summary. 3D scanning black materials presents unique challenges, often leading to compromised results. Central Scanning uses state-of-the-art technology like the GOM ATOS Q and ZEISS T-Scan Hawk 2 to ensure precise data capture, even with reflective surfaces, revolutionising the data collection process.
When it comes to 3D scanning black materials, the complexity can often lead to diminished results when not properly completed. In fact, black and chrome, highly reflective surfaces are deemed the worst for scanning. Blackness, in any case, can be hard to capture, and therefore, can lead to details being lost and an overall outcome that is hard to utilise.
At Central Scanning, we make it our mission to only stock the very best, proven 3D scanner technology. Consequently, giving our customers the answer to their data collection needs. This meticulous technology has transformed the world of collecting data, especially in terms of complex surfaces that other methods cannot adhere to.
Why are black and highly reflective materials hard to scan?
As previously mentioned, black is hard for any camera to see. Due to its sheen, the light given off by a scanner reflects off the surface, usually in an array of wrong directions. This misinforms the scanner, generating high noise and sometimes, making it impossible to see. Therefore, results are left distorted or inconclusive.
The same difficulties can be seen with transparent or other reflective colours. However, for these surface types, we recommend using 3D scanning spray to combat this.
Choosing the Right Scanner for Black Materials
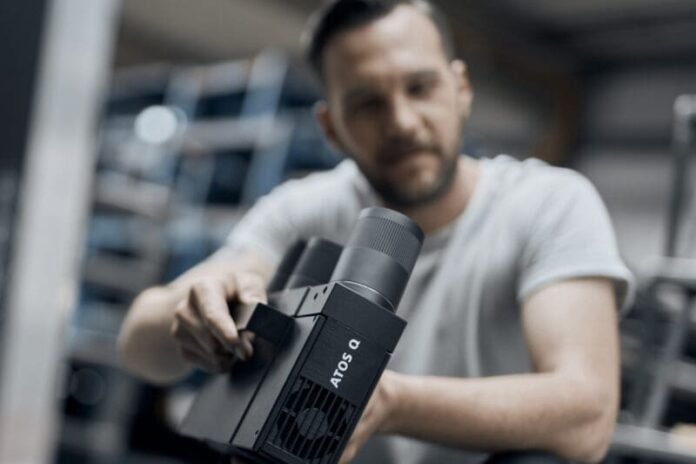
The GOM ATOS Q 3D scanner is the answer to 3D scanning black materials. It scans black with ease using powerful blue light technology combined with an impressive software infrastructure. It only takes a few extra seconds to scan a black surface as opposed to a white, making this a superior 3D scanner.
ATOS Q
The ATOS Q is made with flexibility for complex measurements and inspection tasks for a range of applications. Using interchangeable lenses, you are given precision at a whole new level.
However, this device is only compatible with small to medium-sized parts, something that should be taken into consideration upon purchasing.
This structured light scanner also uses fringe projection, allowing it to intricately scan parts, even on a 3D basis. When utilising the GOM Inspect Software, you can inspect the model, and its tolerances. So, you can ensure that it’s been produced to a high standard.

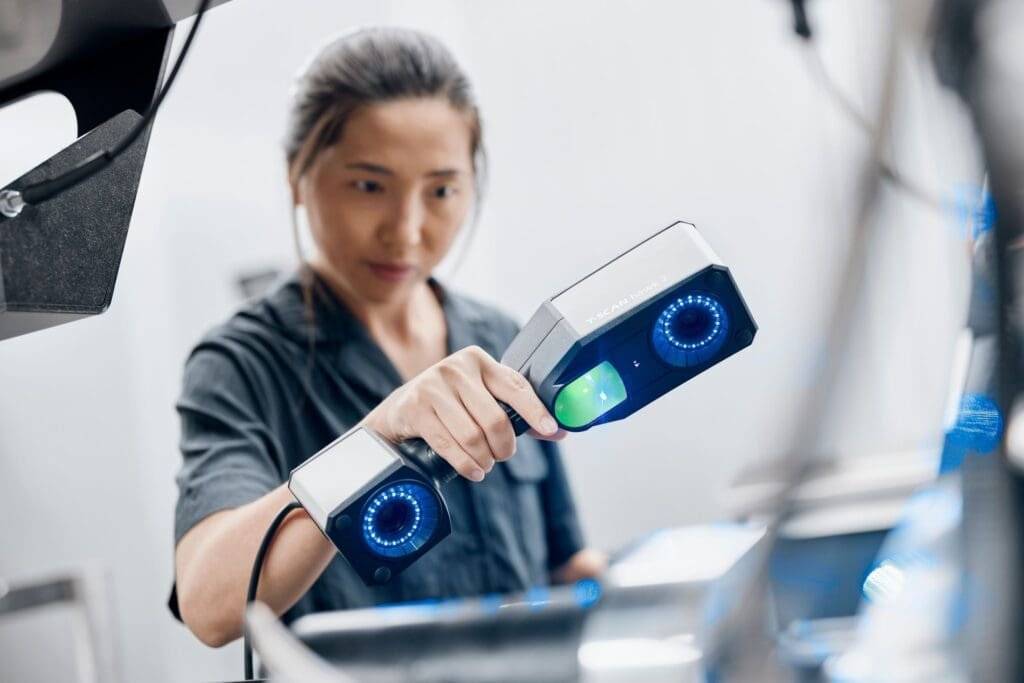
ZEISS T-Scan Hawk 2
For a really highly reflective surface such as chrome, we also recommend the ZEISS T-Scan Hawk 2. It is laser based and provides a very high quality scan even with extremely challenging surfaces to capture.

What else do you need?
When 3D scanning, markers are fantastic for guidance. Reference markers on a rotation table allow the software to triangulate where they are in 3D space, while also triangulating them on the part itself. This means that when the part is in motion on the table, the software understands that it’s rotating, but thinks it’s still.
This enables extreme accuracy as 3D scanning specialists can rotate the part without moving the scanner; identifying all detailing on all surfaces. As we use markers on the side of the part, we can also flip the part once that side is complete. And once you have scans of all sides, you can then align them to very high accuracies.
FAQ: 3D Scanning Black and Reflective Materials with Central Scanning
Why is it challenging to 3D scan black and highly reflective materials?
Black and reflective surfaces, such as chrome, are difficult to scan because they reflect the light from the scanner in various directions, causing high noise levels and distorted results. This often leads to incomplete or inaccurate data capture.
How does Central Scanning overcome the challenges of scanning black materials?
Central Scanning uses advanced 3D scanning technology like the GOM ATOS Q and ZEISS T-Scan Hawk 2, which are specifically designed to handle challenging surfaces. The GOM ATOS Q utilizes blue light technology to effectively scan black surfaces, while the ZEISS T-Scan Hawk 2 excels at capturing highly reflective surfaces.
What makes the GOM ATOS Q ideal for scanning black materials?
The GOM ATOS Q scanner is equipped with powerful blue light technology and an advanced software infrastructure that allows it to scan black surfaces with precision. It offers flexibility for complex measurement tasks and is especially effective for small to medium-sized parts.
When should I use the ZEISS T-Scan Hawk 2?
The ZEISS T-Scan Hawk 2 is ideal for scanning extremely reflective surfaces, like chrome. Its laser-based technology ensures high-quality scans, even with the most challenging materials.
How do reference markers enhance the accuracy of 3D scanning?
Reference markers help the scanning software accurately triangulate the part’s position in 3D space, even when the part is rotated. This ensures that all details on all surfaces are captured with high precision, allowing for accurate alignment of the scans.
Find Out More
3D scanning black materials is a complicated process. But, with the right equipment and expertise, you can still attain the same quality and accuracy as any other scanned surface.
Would you like further information about what other complex matters 3D scanning can conquer? Or would you like to discuss our collection of 3D scanners for sale? Then, get in touch today via email at info@central-scanning.co.uk.
If you want to learn more about the products and services we offer, check out: The Most Affordable Artec 3D Scanners: Is it worth buying or renting?
