1. Image Transfer: Standard 2D photos can be uploaded via mobile phone over the same Wi-Fi network. 2.5D and 3D images require wireless transfer from a computer to the machine over the same Wi-Fi network.
2. Select Template: Choose a matching engraving template based on design requirements.
3. Set Crystal Dimensions: Measure the product’s dimensions, especially height (thickness). Input these into the software, then set the length, width, and height of your engraving content within the software.
4. Preview and Positioning: Use the preview function to inspect and adjust the engraving position inside the crystal, ensuring the pattern is centered and aligned.
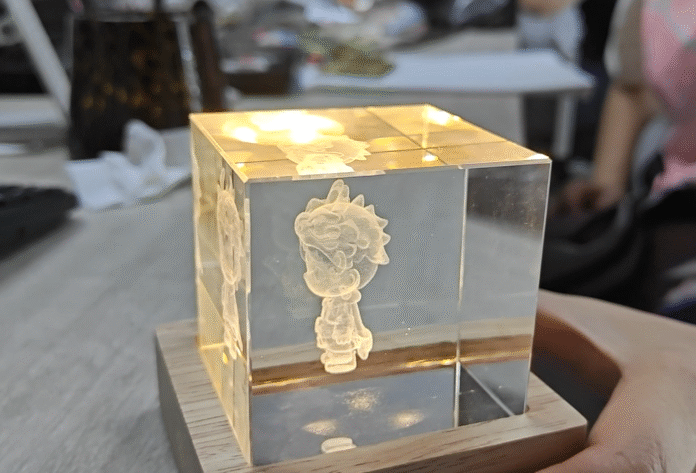
5. Start Engraving: Begin processing after optimizing parameters. The laser operates beneath the crystal’s surface, creating intricate 2D, 2.5D, or 3D images inside the crystal while leaving the external surface completely intact.
