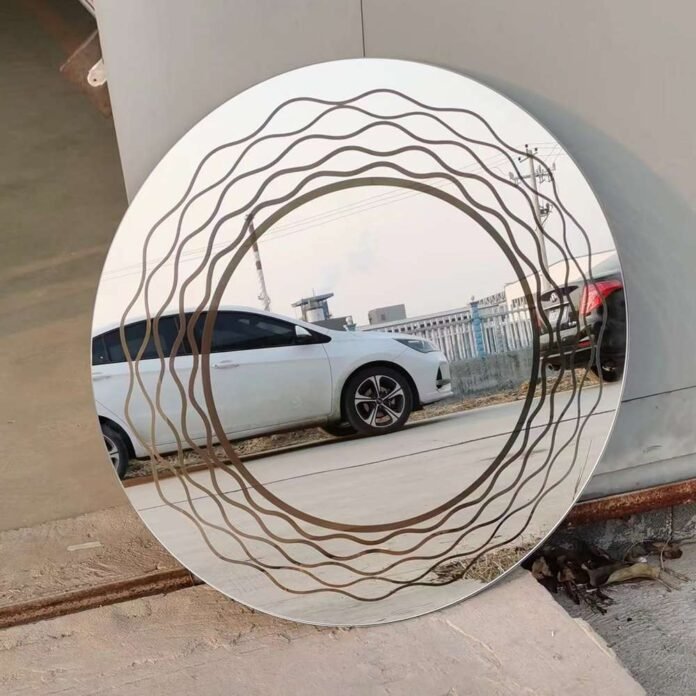
Engraving Process
You’re ready to start engraving. This is when your ideas appear on the mirror.
Aligning the Laser
Aligning the laser right is important for good engraving.
Calibrating the Laser
Start by adjusting the laser alignment and focus according to your machine’s guide. Ensure the marking head is at the correct distance from the mirror surface for optimal focus. Small tweaks to the focal point can make a big difference, ensuring clean, accurate engravings every time.
Testing on Scrap Material
Before using your real mirror, test on scrap. This lets you see how settings work with materials. Change power and speed if needed after testing. Testing stops mistakes on your final piece. It’s a small step that prevents big problems later.
Starting the Engraving
With everything set, begin engraving.
Setting the Correct Parameters
Choose the right settings for perfect engraving. Adjust power, speed, and frequency to fit your design and mirror type. Different designs need different settings, so try new things out. Right settings make sure your engraving looks like you planned.
Monitoring the Engraving Process
Watch while engraving happens. See how laser works with mirror. If something seems wrong, stop and fix it. Watching helps catch problems early and enjoy seeing your design change into art on the mirror.
By doing these steps, you’ll have a smooth engraving process. Your mirror will show not just light but also your creativity and hard work! Enjoy seeing your design come alive!
