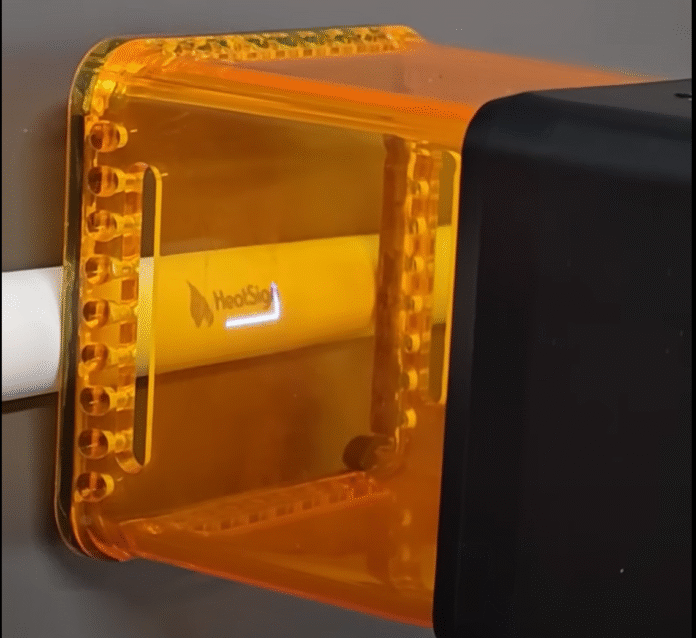
Finishing Touches
After you finish engraving, clean the surface. Use a soft brush or cloth to remove dust. For metal, you might need to wipe away any residue. If you want your logo to stand out more, use a marking compound or paint to fill in the lines. Let everything dry before you touch it.
- Clean the engraved area for a crisp look.
- Adjust focus if you see blurry lines.
- Try different settings on scrap pieces to improve your skills.
Safety reminder: Always wear eye protection and keep your workspace ventilated during this step.
Troubleshooting
Sometimes things don’t go as planned. Here are some common problems and how to fix them:
- Uneven engraving: Check if your material is flat and the laser is focused.
- Burn marks: Lower the power or increase the speed.
- Incomplete engraving: Clean the lens and try a higher power setting.
- Misalignment: Make sure your artwork and material are lined up.
- Excessive noise: Tighten any loose screws and check for debris.
- Laser not firing: Check the power supply and all connections.
- Overheating: Move the laser to a new spot or adjust the cooling.
Regular maintenance helps prevent most issues. Clean your machine, check the optics, and always use the right materials. If you’re not sure, run a test engraving first.
Remember: Laser engraving logo projects are popular because they make products unique. Studies show that 77% of people prefer personalized items, and half think custom gifts are best. With the right setup, you can create logos that last and stand out.
You can create your own logo with diy laser engraving. Just follow each step, use the right tools, and you will get the best quality laser engraving. Many industries trust this process because it works well and keeps growing. Try new materials or designs next time!
