Preparing the Brass Surface:
Clean the brass surface thoroughly before etching. This will help remove oils, dirt, and oxidation.
These substances can affect the laser’s performance. Use a mild detergent or a metal cleaner like Bar Keepers Friend, and ensure the surface is completely dry. A clean surface improves laser absorption and results in a more consistent mark.
Using Software for Design Creation:
Laser etching software is crucial for creating and importing designs. Programs like EzCad or LightBurn allow users to import vector files (e.g., SVG, DXF) and adjust parameters for optimal results.
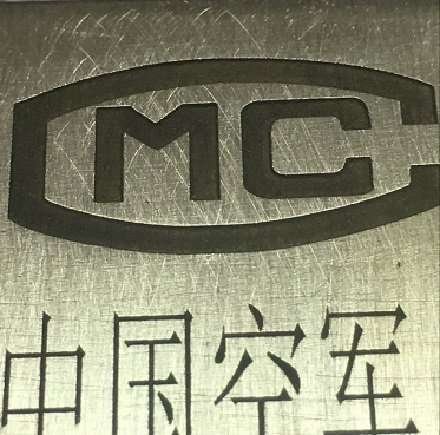
The software changes the laser settings when engraving a company logo on brass plaques. This ensures that the edges are sharp and the depth is even on all pieces. The software simulates the etching process, enabling changes before the final run, which cuts waste and increases accuracy.
Configuring Laser Settings:
The laser’s power, speed, and frequency settings must be fine-tuned for brass etching:
· Power: Higher power settings remove more material and are ideal for deep engraving, while lower power is used for surface-level marks or annealing.
· Speed: Slower speeds allow the laser more time to interact with the brass, resulting in deeper marks. For example, reducing the speed by 50% can increase engraving depth by up to 30%.
· Frequency: Adjusting the pulse frequency can control the smoothness and contrast of the mark. Lower frequencies are better for deeper, rougher engravings, while higher frequencies produce smoother, more detailed marks.
Laser etching on brass makes clear and lasting marks. To achieve this, you need to prepare the brass properly, adjust the laser settings, and use special software. This process is useful for many purposes.
